Contact forms
The Contact section lets you add your company info, contact details, and a form - so clients can easily reach out.
Make it easy for your visitors to reach out and learn more about your company! In Easypage, you can quickly set it up using built-in templates - whether you just want to display your company details or include a full contact form. Here’s how to create and edit your Contact section.
Create a Contact section
Setting up a Contact section in Easypage is very simple. Here's how you can do it:
- Go to Website → Landing Page
- Open your landing page project.
- Click +New Section.
- From the list of sections, select Contact.
- Choose the template, then drag and drop it onto the canvas.

Contact section with a form
By selecting a template with a form, you can easily create a contact form that allows clients to send messages directly from your website. The form lets users enter necessary information such as their email address, company name, phone number, and the message itself. Importantly, all messages submitted through the form can be sent directly to your email address, allowing you to respond quickly and conveniently to all client inquiries.
Editing a contact form
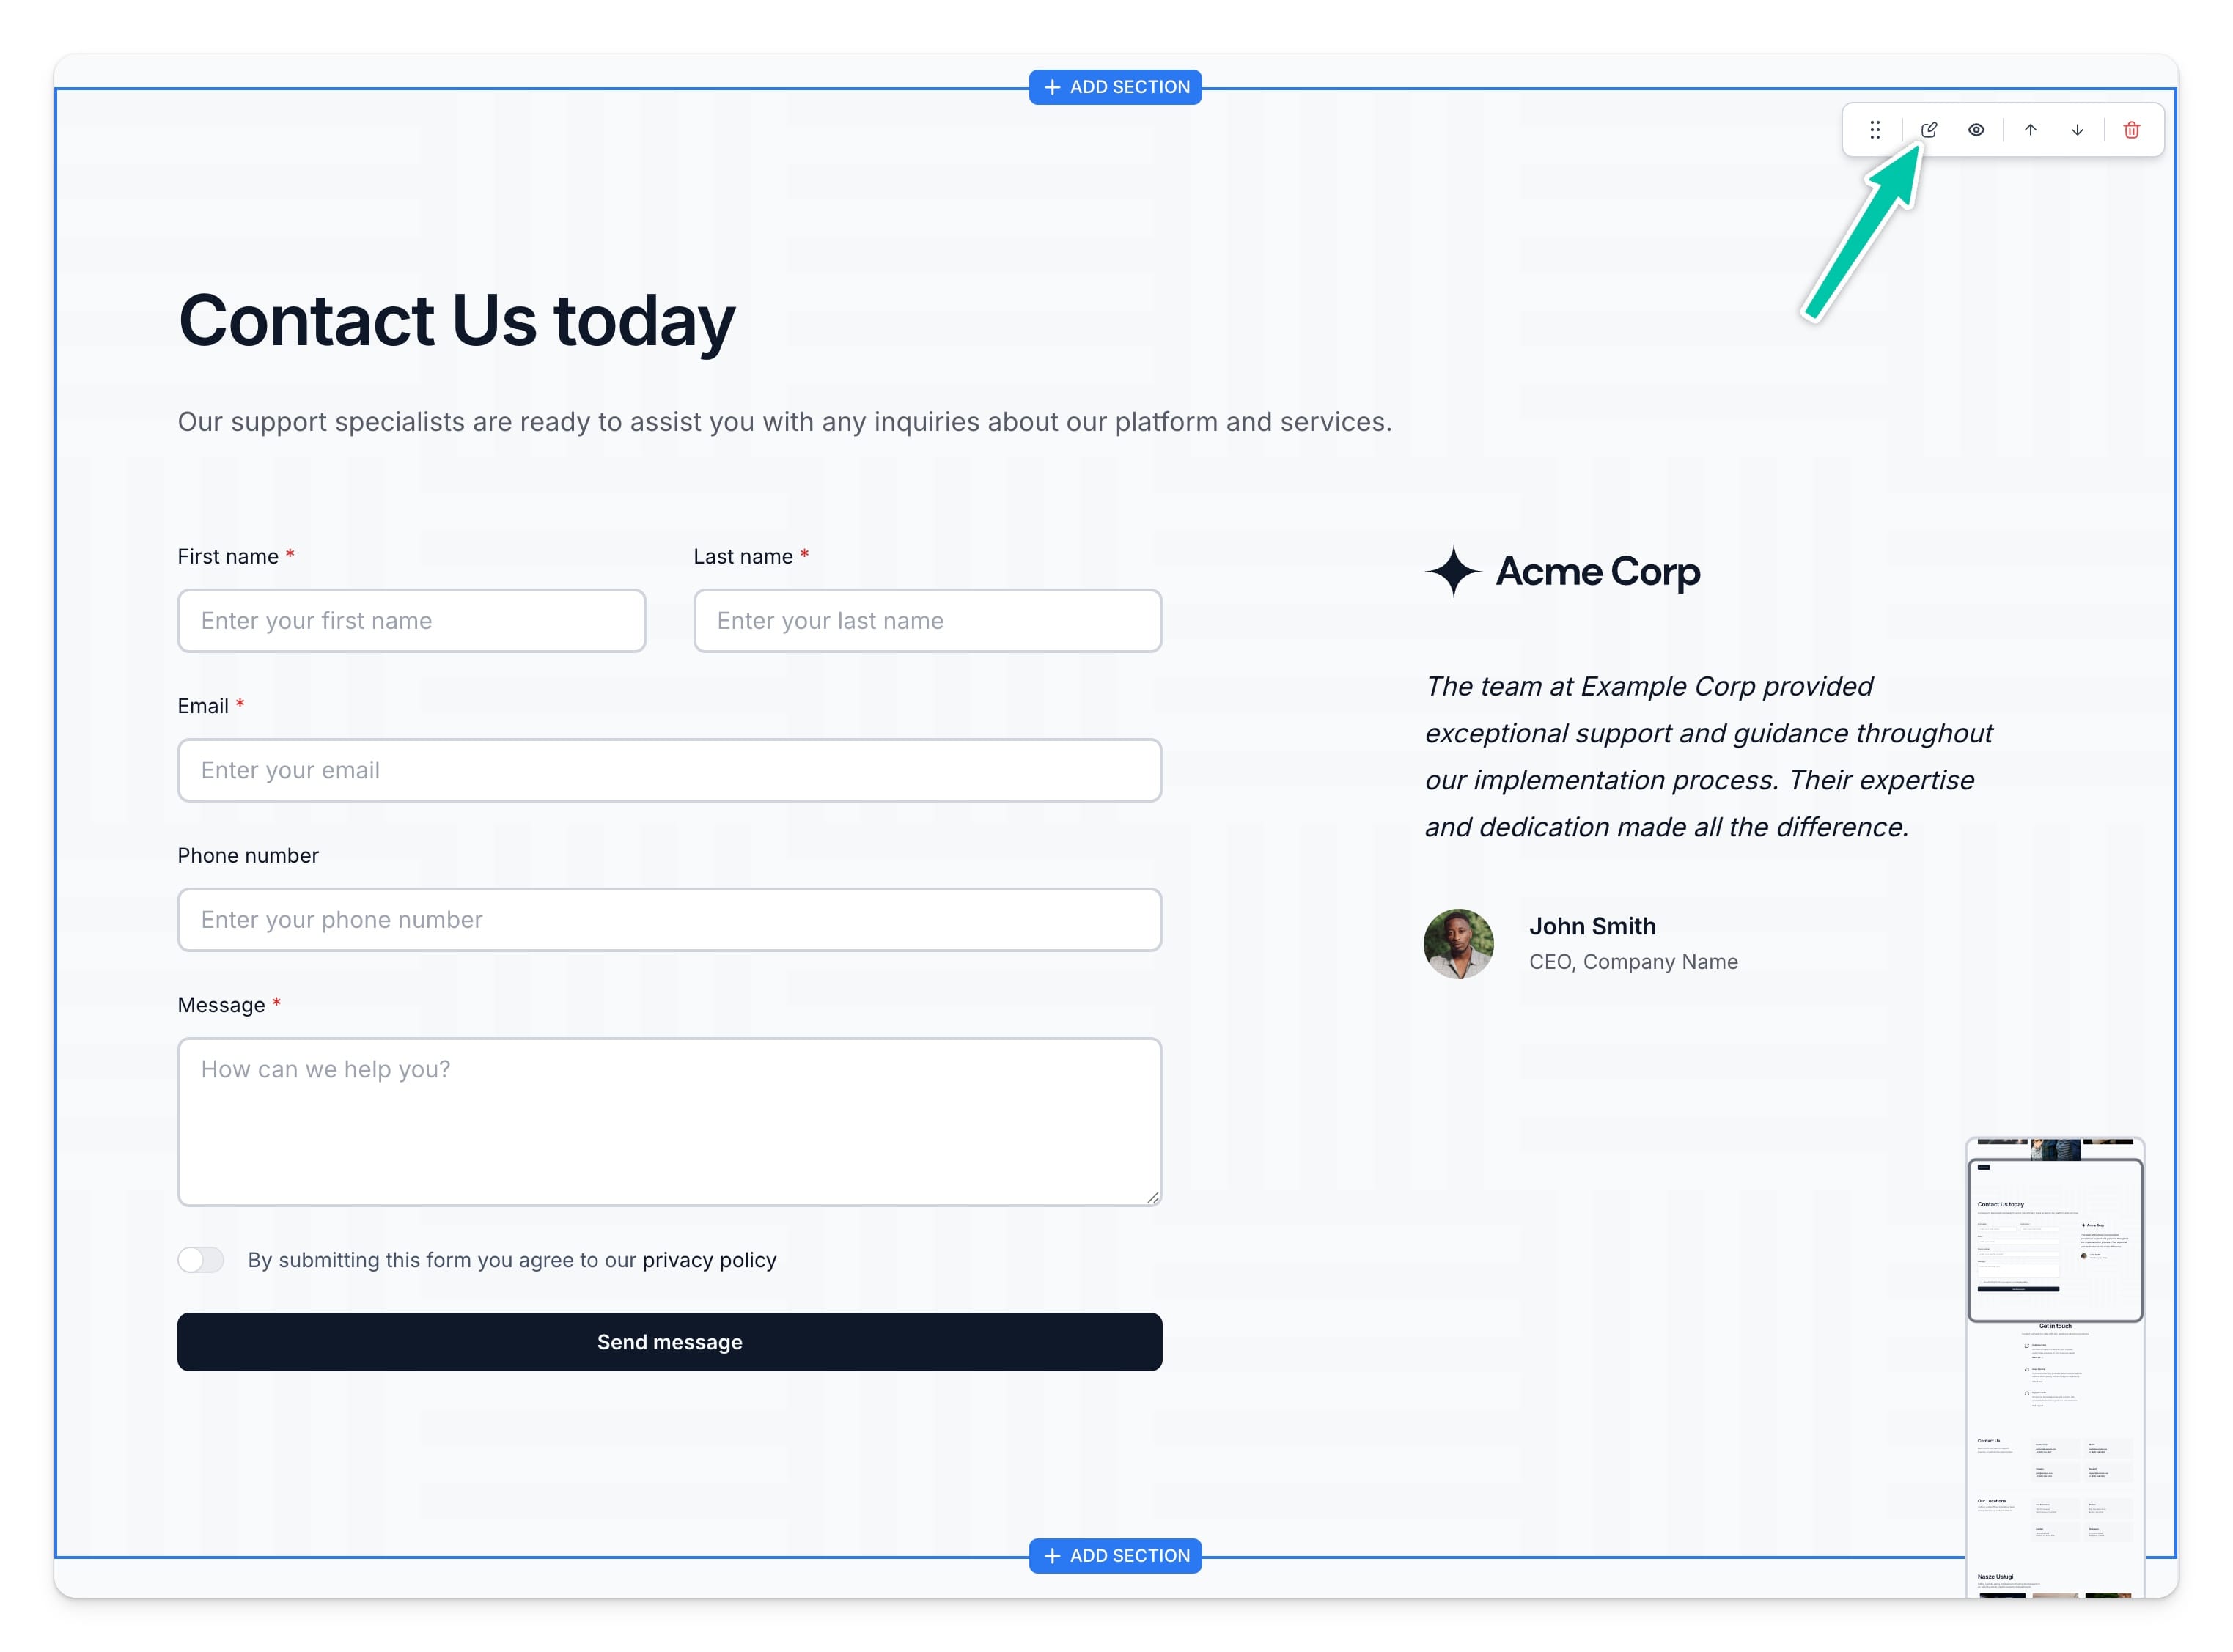
After dropping a contact form to your landing page canvas, you can access it's editor by:
- hovering your cursor over the section and clicking the Edit button in the top right corner
- going to the Sections tab, and finding your newly added Contact form on the list
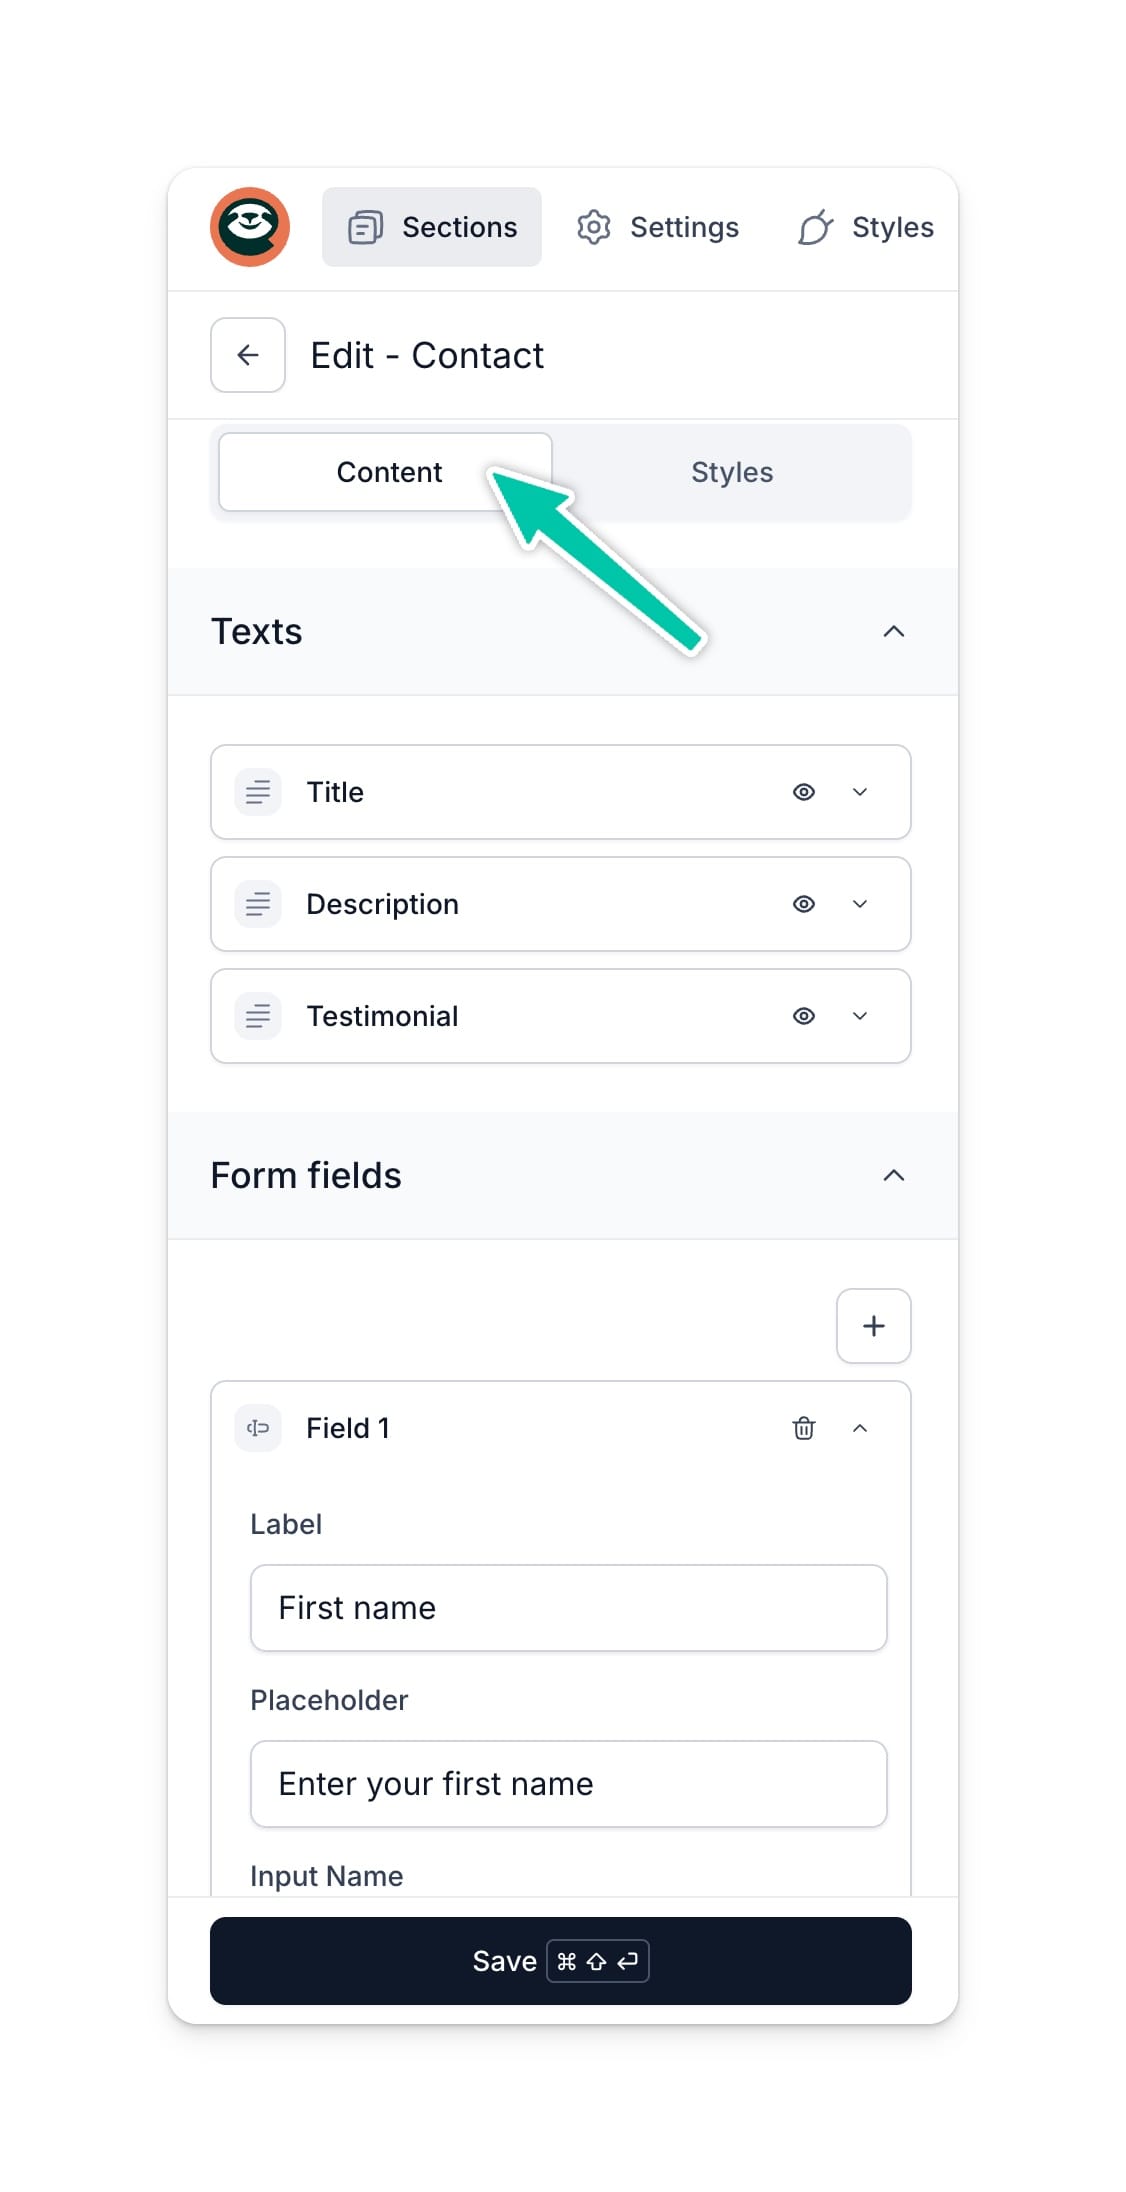
From here you can edit both forms content, actions, and also adjust form styles. Here's the list of available settings:
- Texts – you can edit the header and the content of the form.
- Form fields – you can edit or delete fields that the client needs to fill out. You can also specify whether a field, such as company name, is optional or required.
- Privacy policy - provide a link to your privacy policy that users will need to accept. You can also customize the text for checkbox and validation message.
Note: You can choose which fields will be required simply by toggling the Required option
Get notified about submitted form
Whenever someone fills in your form, you can either send the details to a webhook or set up automatic email notifications.
Form submission notification via email
- Open your Contact form editor.
- In the Content settings scroll down to the Submit section.
- Click on the Submit button to edit its settings.
- Click on the Submit action and choose Email.
- Fill in the Recipient email - that's the address to which we will send email notifications
- (Optional) Customize the error and success message text.
- Click Save

Send form details to a webhook
You can also send each submitted form details to a webhook - e.g. to create an advanced automation like sending all form messages to the AirTable database.
Here's how you can send form details to a webhook:
- Open your Contact form editor.
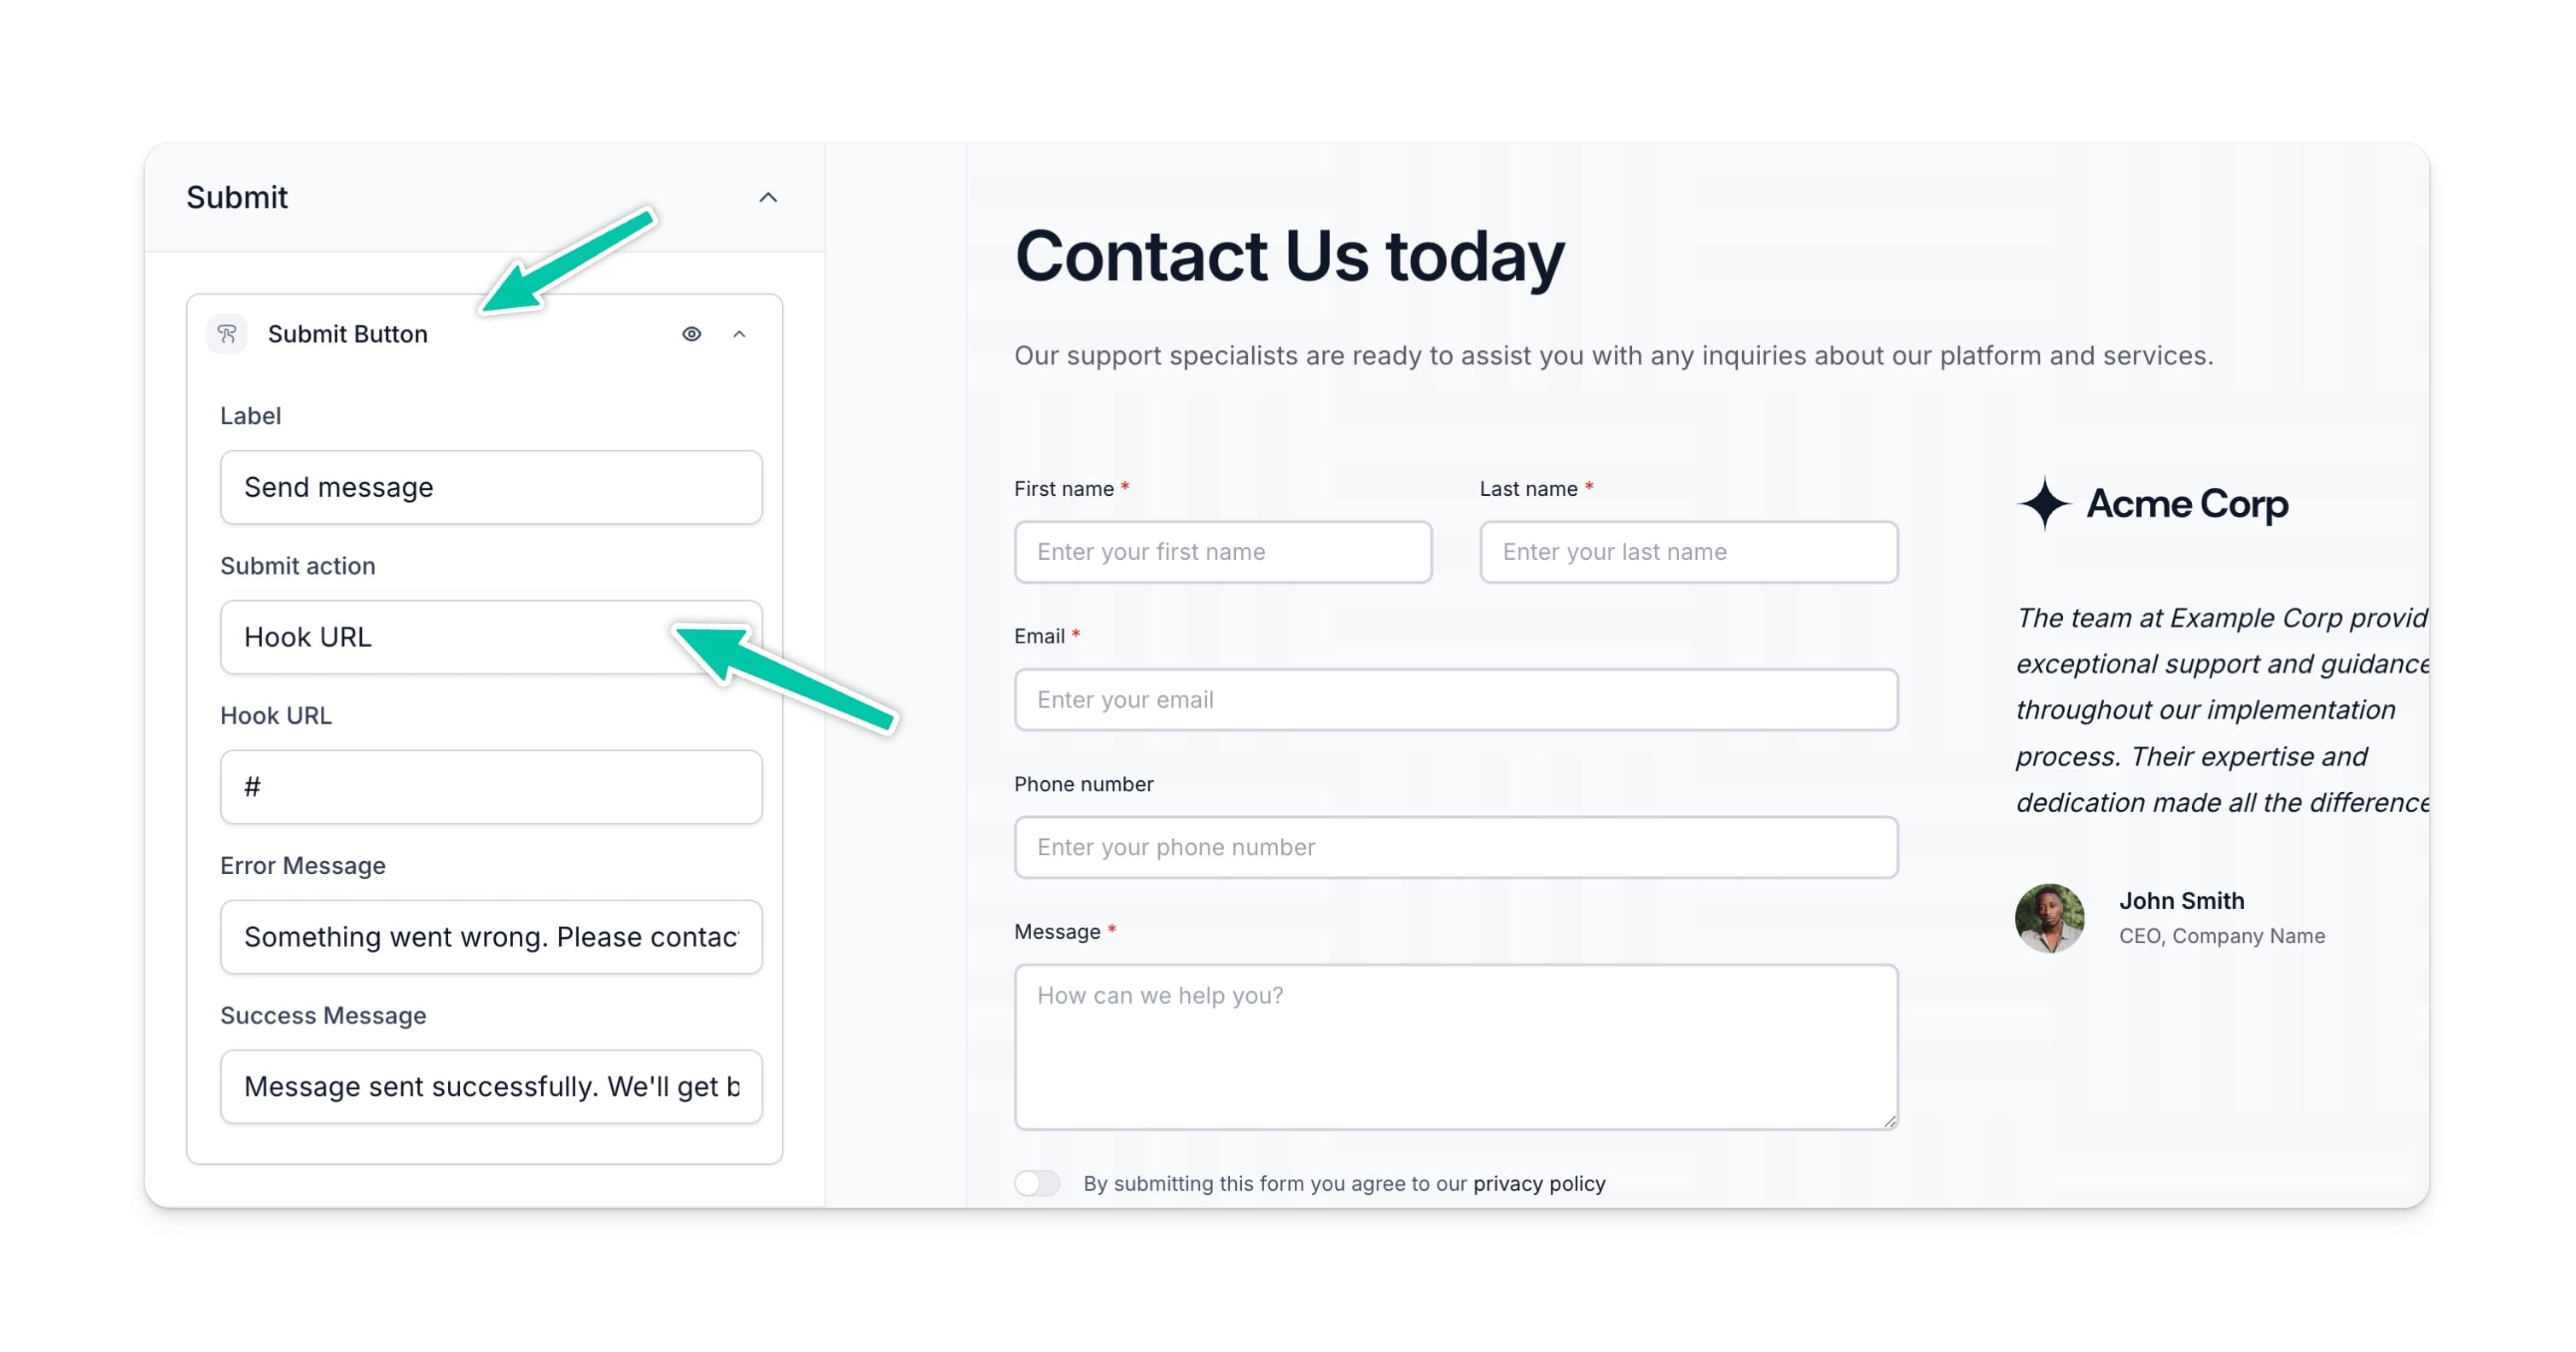
- In the Content settings scroll down to the Submit section.
- Click on the Submit button to edit its settings.
- Click on the Submit action and choose Hook URL.
- Fill in the Hook URL address.
- (Optional) Customize the error and success message text.
- Click Save
Now, any time someone submits a form, the data will automatically be sent to the provided webhook URL.
Apart from creating a contact form, you can also add a contact section with your company details and contact information, such as phone number, location or email address. To do so, simply choose your preferred section from the list and fill it with information about your business.


